Follow one idea from its first measurement to a decision you can
make with the cooled print in your hand.
PROJECTS / 01
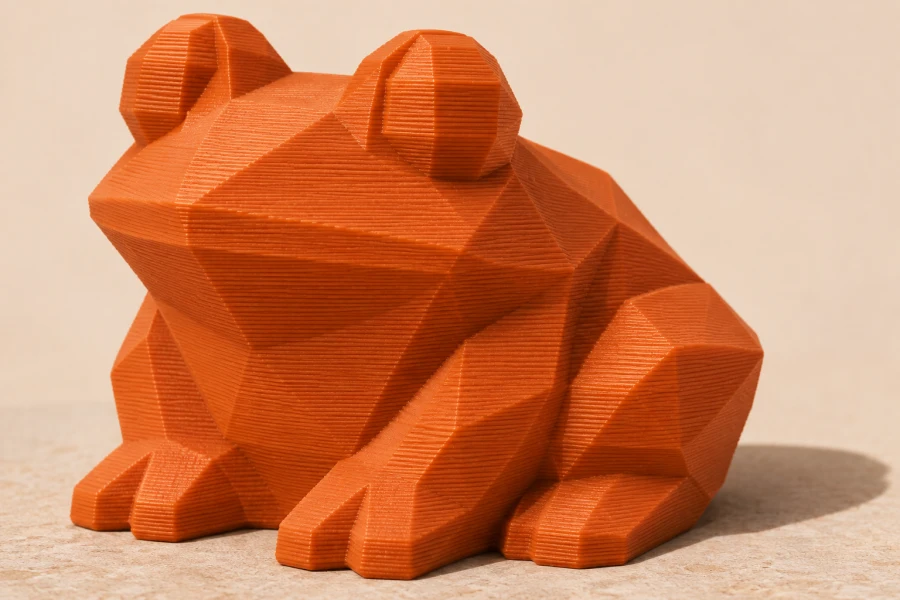
The pocket frog
A small sculpture teaches you what an image generator invents
behind your back.
FIG. 02 / ONE-PIECE CHARACTER STUDY
Image → meshMeshy or TripoSingle-color PLA
Decide what counts as a frog
Aim for 55 mm nose to tail. Make the belly wide and flat so it
can share the first layer with the feet. Use the provided
reference or sketch your own squat frog in three-quarter view.
Generate the shape
Upload the reference to image-to-3D. Where a text field is
available, use the brief below. With a text-only generator,
use the same brief on its own. Check the eyes and the unseen
back. Turn off textures and make sure the raised details are
still there.
Clean and size it
Pick the untextured model with the best connected feet. Run
the mesh checks, repair on a copy and export STL. Import in
Bambu Studio and scale uniformly to 55 mm long. Look
underneath for loose tiny islands.
Slice and test the pose
Lay the belly on the plate. Slice with your PLA profile. Scrub
up from the first layer until the chin begins. If it floats,
tilt the pose, enable accessible tree supports, or regenerate
with the chin tucked in. Re-slice. Print the chosen file and
let it cool.
Judge it in your hand
Set it on a hard surface and tap the head. If it rocks,
flatten the contact face or adjust the feet. If an eye snaps
off, fuse a wider base into the head on the next pass. Save
the project with the successful change.
MODEL BRIEF
A squat low-poly frog figurine for single-color FDM printing, 55
mm long. Give it a wide flat belly, thick legs joined to the
body, raised eyes with broad bases and a tucked chin. One
connected solid. Model the eye shapes in relief. No floating
details, separate base, or thin toes.
Turn three measured holes into a desk organizer you can edit with
one number.
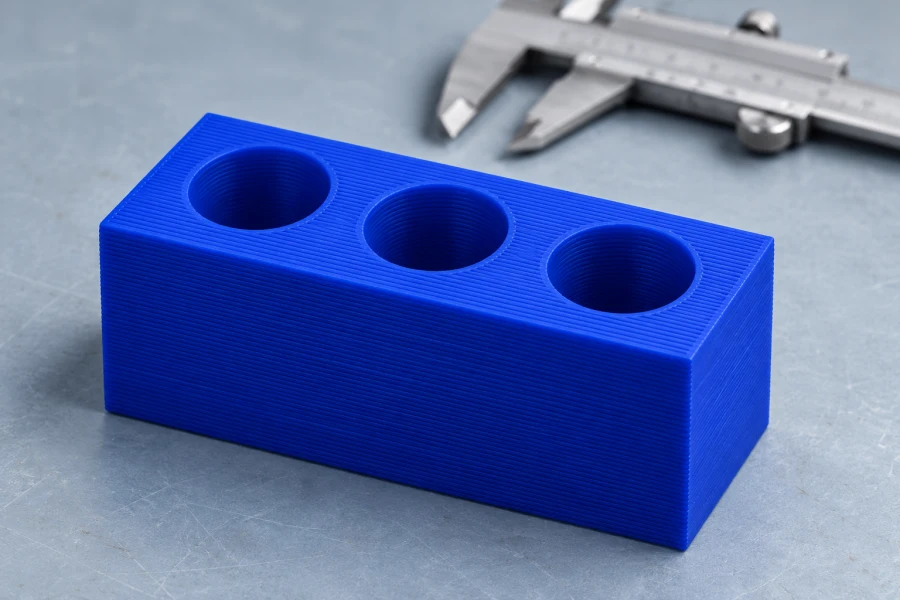
FIG. 03 / MEASURED DESK ORGANIZER
Words → solidOpenSCADFit coupon included
Measure the fattest pencil
Our worked dimensions use an 8 mm pencil, a 54 × 22 × 30 mm
body and a 3 mm floor. Measure yours across its widest faces
or corners. Start with three coupon clearances of 0.15, 0.30
and 0.45 mm per side.
Ask for editable code
Use the brief in chapter two or open the supplied .scad file.
A block is a cube with three cylinders subtracted. Each cutter
starts at the floor and runs slightly above the top. Moving
the cutter to Z = 0 would punch through the floor.
Print the short coupon
Set coupon = true in OpenSCAD, render with F6, and export STL.
With the default 8 mm pencil, the coupon’s bores are 8.3, 8.6
and 8.9 mm from left to right along +X. Keep track of the
loose end by the notch at its corner. Slice flat with holes
pointing up.
Choose the winner
Cool the coupon, then try the actual pencil in each opening.
Pick the clearance that lets it enter easily without excessive
wobble. Set clearance to that value and coupon = false. Render
and export the full part.
Inspect the full plate
The default holder is 54 × 22 × 30 mm. In Studio, verify the
first 3 mm form the floor and all three bores stay open above
it. Print upright with the same filament and profile as the
coupon. The pencil should stand in each bore and lift out
without taking the holder with it.
STARTER FILES / DEFAULT DIMENSIONS
Both STLs were rendered from the supplied OpenSCAD source and
sliced with the A1 mini profile. Start with the coupon to test
your pencil.
Explore a family of ribbed shapes, then slice one you drew with
sliders.
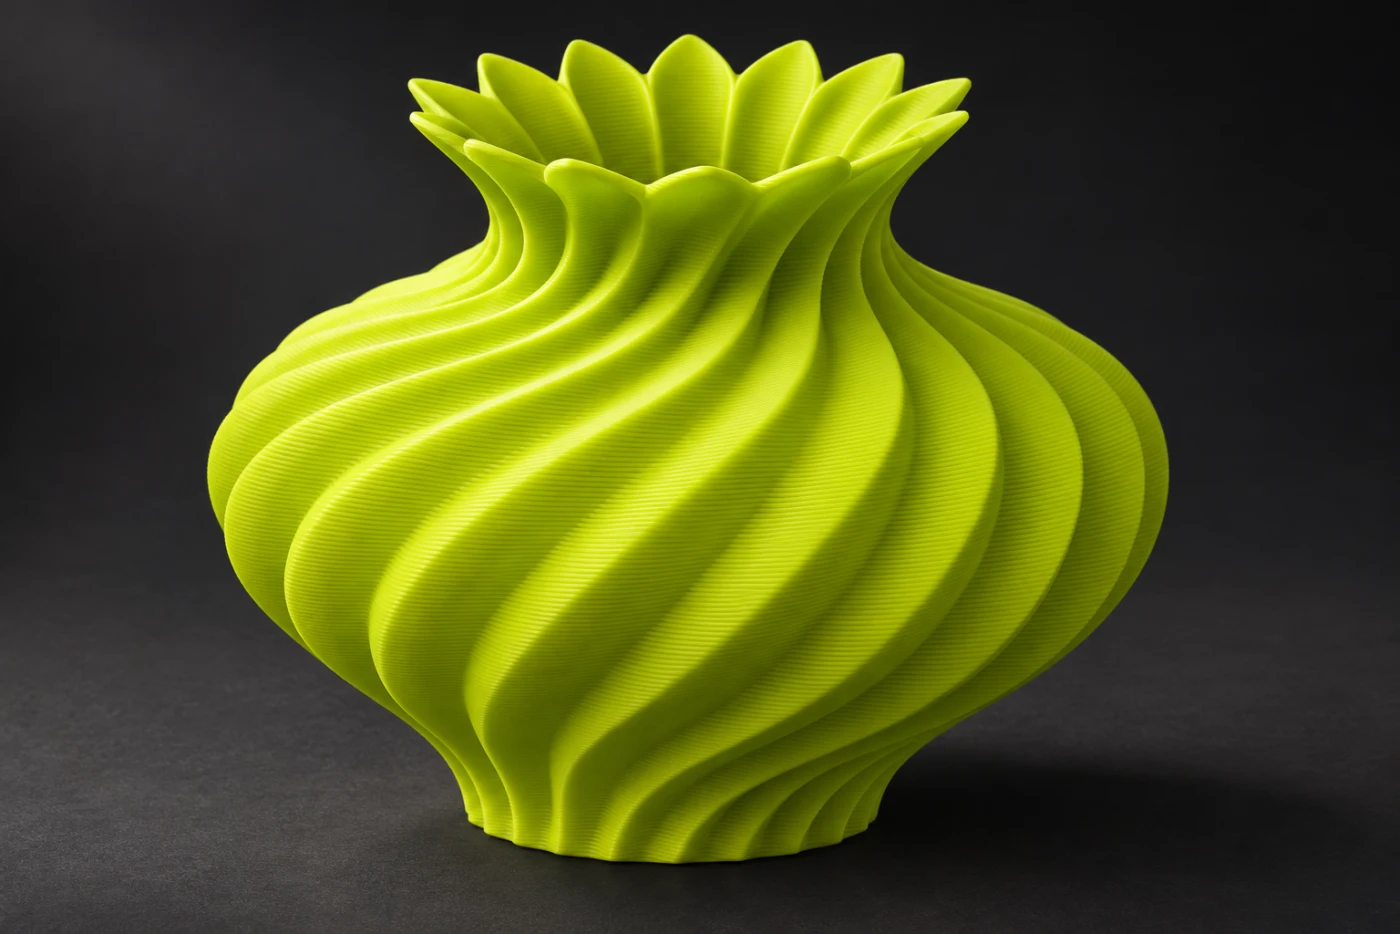
FIG. 01 / SPIRAL VESSEL CONCEPT
Parametric surfaceLocal STL exportDry desk vessel
Describe a family of shapes
Imagine stacking many rings. Each ring has a wavy outline.
Make the middle rings wider, then turn each one slightly more
than the last. The ribs spiral as the rings climb. An AI can
help express this recipe as code.
Turn the idea into a specification
Use the brief below to explore that conversation, or open our
finished browser model in the vessel lab. The generated
photograph is a shape reference. The lab displays the exact
geometry of your downloadable variant.
Make your first version
Start at 70 mm tall, 12 ribs and 45° of total twist. Drag to
rotate the model and inspect the open mouth. The generator
includes a 3 mm floor and an inner surface inset 3 mm
radially. Steep flutes can have less thickness perpendicular
to the surface.
Slice the body upright
Export STL and import in Studio. Its height should match your
slider value. Use a normal multi-wall process with spiral vase
mode off. The file already has an interior. Check that the
floor closes, that wall paths join around the neck, and that
the lip is supported from below.
Inspect seven layers from the default vessel’s slice.
Test the risky section
If the lip droops in a print, reduce twist or increase height
in the lab, then re-slice. If a wall looks patchy, inspect the
line paths and try fewer ribs. Print and check that it sits
flat and holds dry desk items. A sealed mesh alone does not
establish watertightness in a physical print.
MODEL BRIEF
Build a parametric desktop vessel from rings of vertices. Use
millimetres, an open mouth, a closed 3 mm floor, and an inner
surface inset radially by 3 mm. Give me variables for height,
rib count and total twist. Connect the rings to make one closed
printable shell. Explain how to check the neck in a slicer.