Describe it
What is it for? What must it fit? Sketch it, measure it, name the constraints.
YOUR IDEA + MEASUREMENTSYou’ve printed someone else’s idea.
Now let’s print one of yours.
A practical guide to designing your own 3D prints with AI. From the first “what if” to a part that actually fits. No CAD experience required.
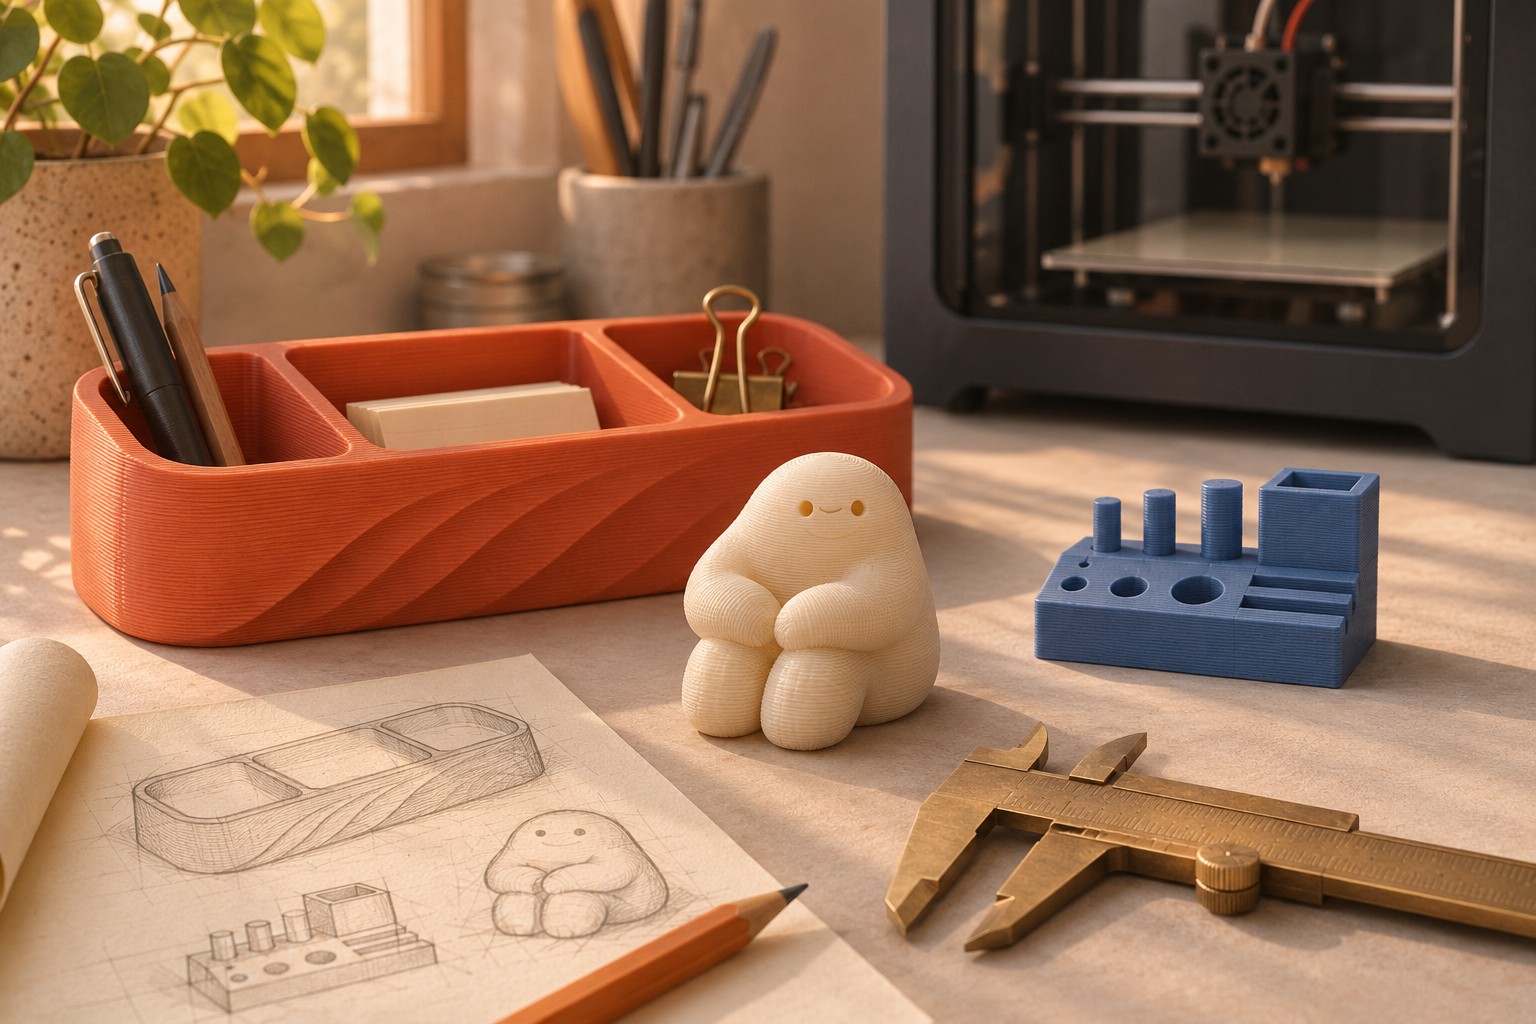
You don’t need to become a CAD expert before making your first useful thing. You do need to know what you’re asking AI to make.
A picture is not a 3D model. A 3D model is not a print job. And a great-looking print job can still make a lid that doesn’t fit. Here’s the whole trip.
What is it for? What must it fit? Sketch it, measure it, name the constraints.
YOUR IDEA + MEASUREMENTSGenerate a sculptural mesh, or ask AI to write a measured CAD model.
EDITABLE SOURCE → STL / 3MFBambu Studio turns the shape into nozzle paths. Check what it will actually print.
SLICE → PREVIEWPrint a small first version. Measure the result. Change one thing. Keep the winner.
REAL PLASTIC → BETTER DESIGNCADComputer-aided design. Shapes with dimensions you can edit.
MeshA skin of triangles describing the surface of a shape.
ParametricChange a number; the model rebuilds around it.
SlicerSoftware that plans how the printer lays down plastic.
Install OpenSCAD from its official download page. Open a new file, paste the assistant’s code and save it with a .scad extension. F5 is the quick preview; F6 computes the geometry for export. On some keyboards, use the Design menu instead of function keys.
You only need a few ideas: cube makes a box, translate moves it, and difference subtracts one shape from another. Our tray is a solid block with rectangular pockets removed. The numbers at the top are the controls.
Choose a generator with the input and export workflow you need. Check your account’s export access first. Prepare one clean reference image and keep your original generation before any repairs. Install Blender only if the mesh needs edits the generator cannot make.
For both routes, keep Bambu Studio, a ruler or calipers, your source file and a place for measurements handy. Create a folder with source, exports and print-tests. Name revisions so you can get back to the one that worked.
AI is several different tools wearing one name.
Choose the job before choosing the tool.
Ask a coding assistant for OpenSCAD. You get dimensions you can change, and a model you can rebuild. Start with simple boxes and holes. Move to CadQuery when you need STEP solids and more complex features.
Make a measured tray →Text and image workflows for decorative models. Its current Print panel includes geometry checks, repair, base creation and STL / 3MF export.
Reality check Geometry still needs inspection at final size. Repair and some export conveniences depend on your plan. Check access before generating a whole collection.
Read the printing workflow ↗Text, single-image and multi-view generation. Its printing guide recommends inspecting the untextured shape and using Blender for further cleanup.
Reality check A photo can’t reveal the back. Generated extra views are guesses, too. Segmented parts don’t automatically get working assembly joints.
Read the printing workflow ↗OpenSCAD builds shapes from code. Have your coding assistant draft the script, then preview, render and export it locally.
Reality check OpenSCAD itself isn’t AI. The assistant can write broken code. Keep the source, read errors and check every important dimension.
OpenSCAD documentation ↗A Python CAD library for parameter-driven parts. Useful for holes, fillets, repeated features and STEP export to other CAD tools.
Reality check More setup than OpenSCAD. AI can invent methods or select the wrong faces. Build one feature at a time and inspect the result.
CadQuery introduction ↗Fusion’s Autodesk Assistant answers questions and supports natural-language actions. Zoo’s Zookeeper is a conversational CAD agent in Zoo Design Studio.
Reality check Availability and quotas vary. Neither removes the need to understand dimensions and constraints. Review each feature, not just the final rendering.
The 3D Print Toolbox extension analyzes geometry and offers repair, alignment, scaling and export tools. Let AI explain the warnings while you inspect the mesh.
Reality check These checks are geometry tools, not AI magic. A screenshot cannot prove a mesh is closed or a thin joint is strong.
3D Print Toolbox ↗A coding-capable assistant can help translate measurements into a script, explain an error or teach a CAD operation. Ask for code and an inspection plan; a confident answer is not a geometry test. This guide does not depend on a specific assistant model or subscription.
You can also use an assistant as a patient tutor beside Fusion, FreeCAD or another CAD editor. Describe your actual screen and ask for one step at a time. For a rectangular part, making a sketch and extruding it may take less effort than cleaning up a generated mesh. The tools above are a small, checked shortlist, not a claim that every other tool is worse.
“A cool desk organizer” is a mood.
“120 × 80 × 24 mm, flat base, 2 mm walls” is a design brief.
Fill this in. Copy the brief into your chosen tool. Nothing is sent from this page.
Separate “smooth-looking” from an actual curved surface. Ask for physical recesses and raised details, not painted-on texture.
Flat bottom on the bed. Broad contact area. Short, connected features. Tell the tool which face is the bottom.
“Increase only the inner slot width by 0.3 mm; keep the outside unchanged.” Easier to check than “make it better.”
These are worked design recipes, not claims of completed physical tests. The pictures are AI illustrations. Your first print is the test.
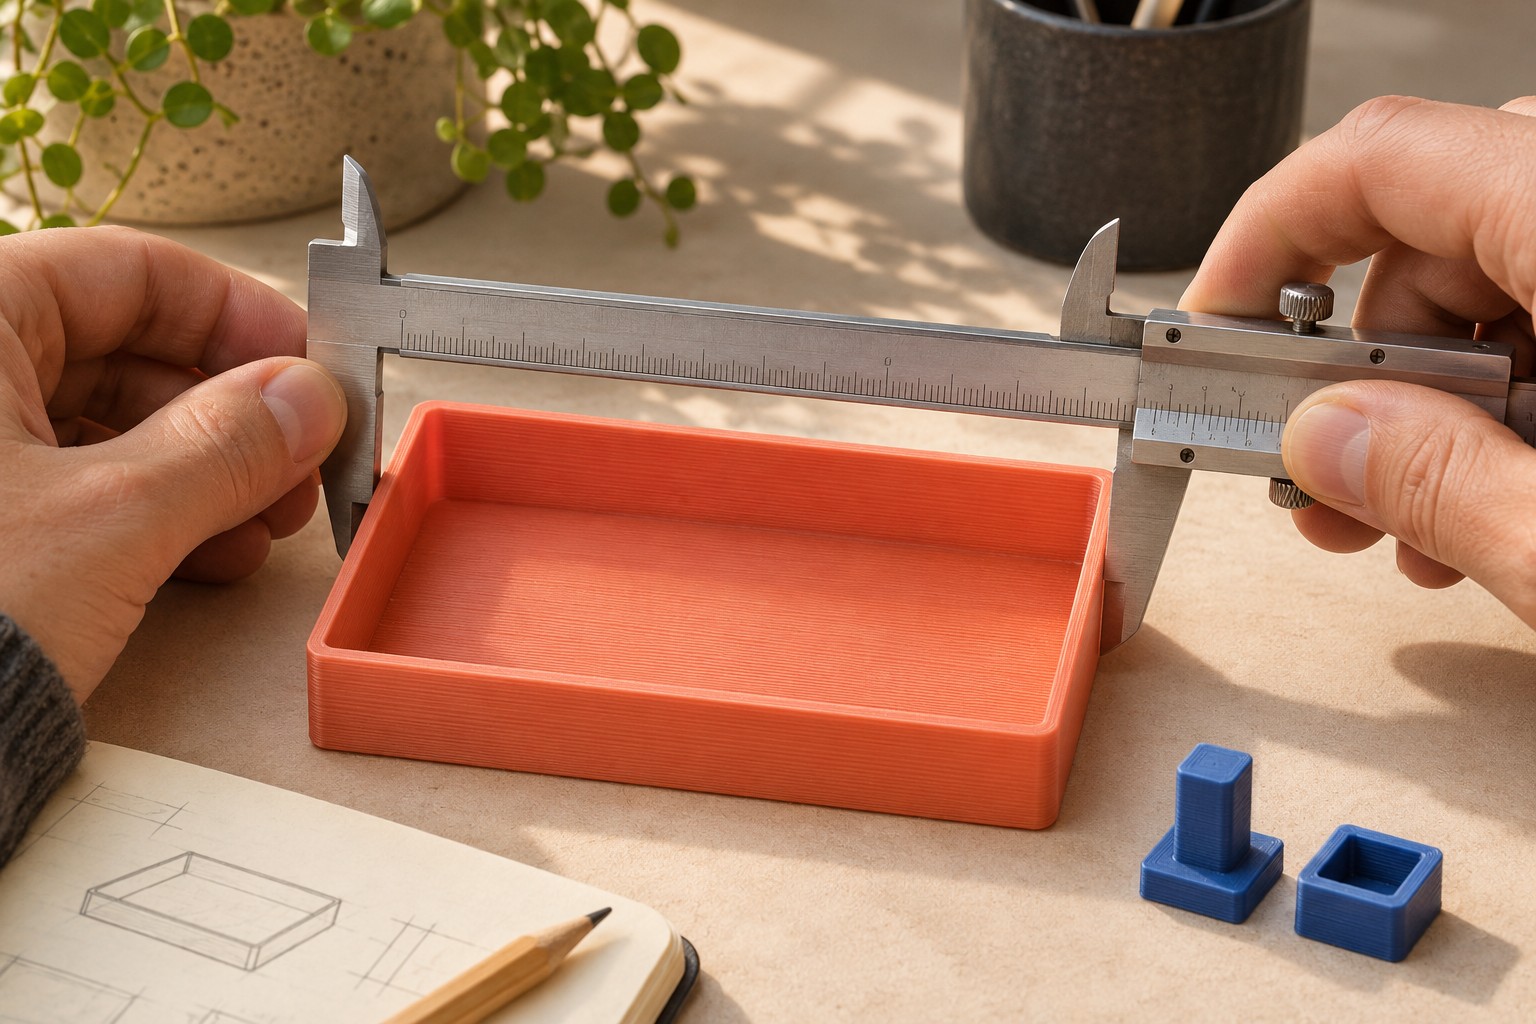 MEASURE FIRST. GUESS LESS. / AI ILLUSTRATION
A three-compartment tray. Small enough for an approachable first print, useful enough to keep on your desk.
Lay out the objects the tray will hold. Check their longest dimension and the space on your desk. These are outside dimensions: with 2 mm walls and two 2 mm dividers, each compartment here is about 37.3 × 76 mm inside.
Use the default brief above. Ask for a single closed solid with named width, depth, height, wall and compartment parameters. No decorative curves yet. Download the starter OpenSCAD source to compare with its answer.
Open the source in OpenSCAD. Preview with F5, then use Render (F6) before File → Export → STL. Check the console for errors. Orbit underneath: the base must be closed. You can also download the 120 × 80 × 24 mm starter STL or customize one below. OpenSCAD manual ↗
In Bambu Studio, select your printer, installed nozzle, plate and PLA profile. Import the STL, confirm 120 × 80 × 24 mm and put its bottom on the bed. Our suggested first trial is a 0.20 mm profile with a 0.4 mm nozzle. Start with supports off; inspect the full preview.
Watch the first layer, let the plate cool, then check the inside with your objects and calipers. Too narrow? Increase the intended internal space in CAD. Don’t scale the whole tray if you need its outside size unchanged. Save your working source and Studio project together.
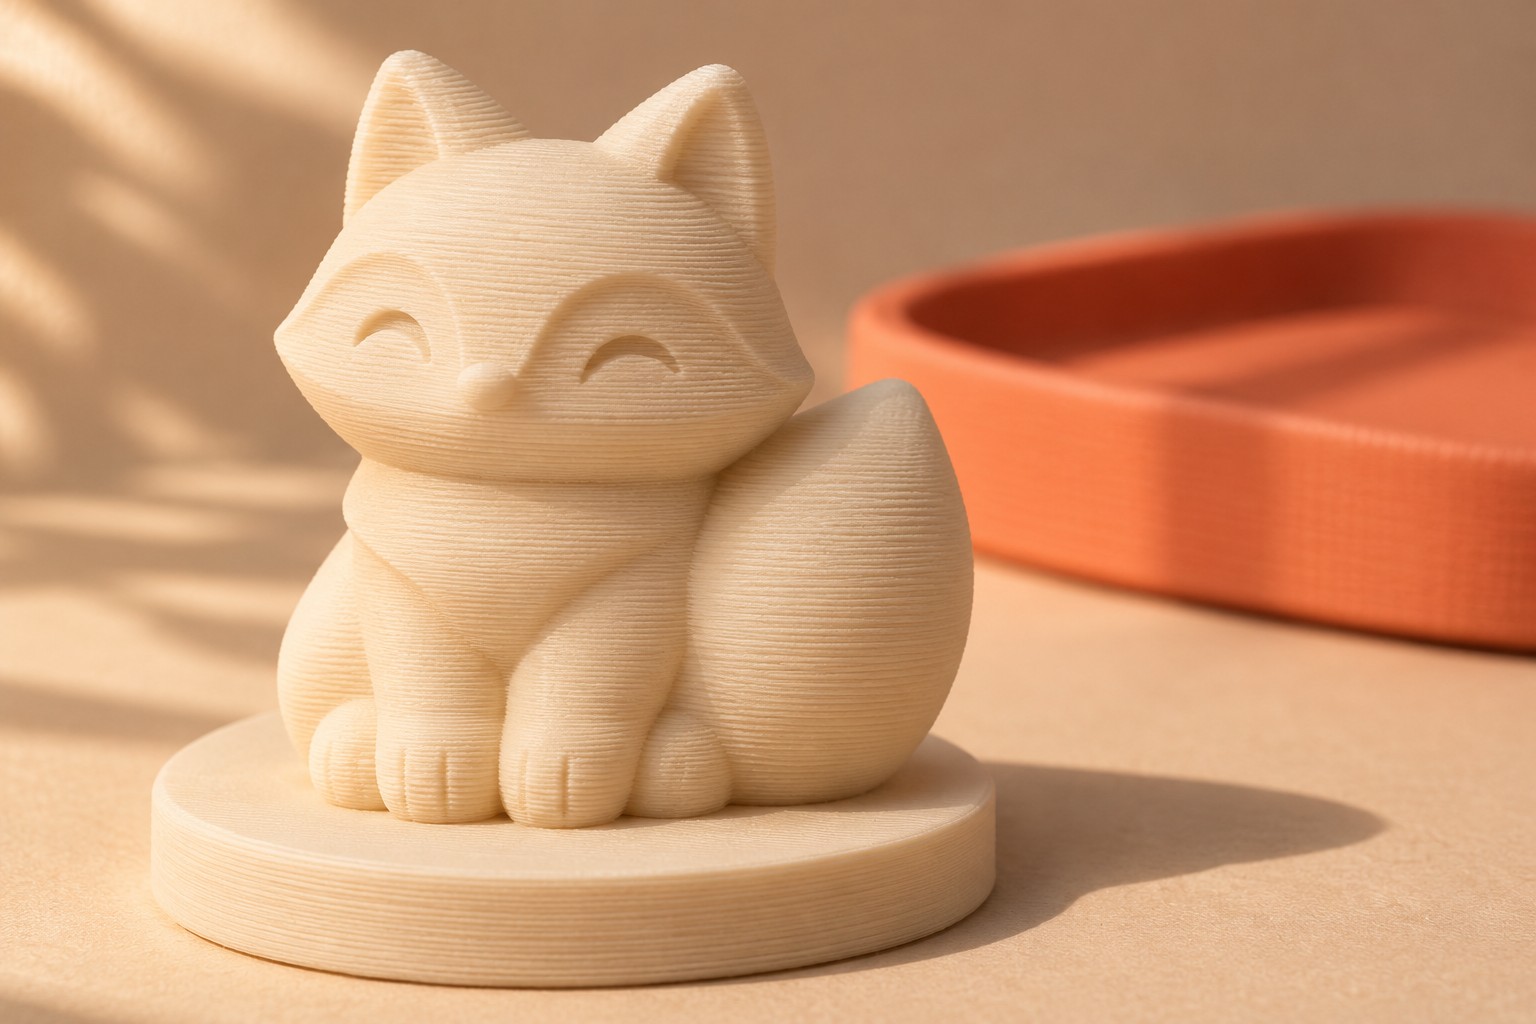 CHUNKY IS A FEATURE. / AI ILLUSTRATION
A seated, palm-sized creature with a flat base. It’s a good job for a generator because its shape matters more than an exact fit.
Use the included concept image or generate your own: “One seated fox-like creature, short broad ears, tail fused against its body, simple recessed eyes, flat circular pedestal, full body, three-quarter view, plain background, no floating accessories.” The image guides shape; it does not set exact dimensions.
Upload the reference to an image-to-3D tool. In Tripo, its current guide uses HD Model for a detailed figure. Inspect the back and underside, not only the flattering front view. Turn textures off. If the tail is disconnected or the face is wrong, revise the reference and regenerate. Tripo guide ↗
Set the intended 70 mm height before evaluating thin areas. In Meshy’s Print panel, use Print Check and review any Make Printable repair. Make sure a base exists and narrow features remain thick after scaling. Repair can change the shape, so keep the original. Export STL for this single-color trial. Meshy guide ↗
Confirm the height again. Put the pedestal flat on the bed. Slice with your normal PLA profile. Inspect under the chin and ears for unsupported starts. Try tree supports when needed, and check that you can remove them without snapping an ear. Lower layer height can improve curved surfaces; it won’t restore detail missing from the mesh.
If the model needs dense supports across its face, change its pose or split it before committing. Print the first version in one color. After it cools, remove supports carefully, inspect weak points and thicken those areas in the next model. The useful result is a repeatable shape, not just a prettier render.
A simple lift-off lid for a small box. A clearance is the deliberate gap that lets two imperfect printed parts fit together.
Ask AI: “Make a 60 × 40 × 20 mm open box with 2 mm walls and base, plus a lift-off lid. Use a 2 mm thick lid plate and 3 mm deep locating plug. Parameterize clearance per side; subtract it twice from each opening dimension. Export box and lid separately. No snap fit.”
Use the included OpenSCAD source. Set part="coupon" and compare 0.15, 0.25 and 0.35 mm per-side clearances. Print each short rim and matching plug in the same orientation and material as the final parts. These are experiments, not promised tolerances.
Let the coupons cool. Test gently without forcing. Choose the gap that slides easily but doesn’t rattle more than you want. If only the bottom catches, inspect first-layer flare (“elephant’s foot”) before enlarging every wall. Why no universal tolerance exists ↗
Use your winning clearance; set part="box", render and export. Repeat with part="lid". In Bambu Studio, print the box open side up and the lid with its broad outside face on the bed, locating plug up. Avoid supports on the mating surfaces.
Slice both parts, check dimensions, print, cool and fit. A short coupon doesn’t prove a long wall won’t bow. If it binds, find the contact point, revise the model and repeat. Save the measured gap, filament and orientation for the next version.
For a rectangular plug in a rectangular opening.
This is real geometry, generated here in your browser. Resize it, inspect it, then take the STL to Bambu Studio. No account. No upload.
Each compartment: 37.3 × 76.0 × 22.0 mm inside.
All dimensions are millimeters. STL carries no unit label: confirm size in Studio. The full model is exported even when the layer reveal is lowered.
.scad / .py — the recipeEditable parameters and modeling instructions. Keep this if you want to change the design later.
STL — the shapeTriangles only. No reliable unit metadata, colors or editable CAD history. A simple path into the slicer.
STEP — the CAD handoffSolid geometry for CAD exchange. CadQuery can export it; it usually won’t recreate the original feature history in another editor.
3MF — a containerCan preserve units and more information. A Studio project can also contain settings. Check what a particular exporter actually included.
Your printer doesn’t read your prompt.
It follows the toolpaths your slicer makes.
Illustration, not a Bambu Studio screenshot. Use the actual sliced preview to inspect your print.
Choose the printer model, installed nozzle diameter, actual build plate and loaded filament profile. A downloaded 3MF may bring somebody else’s settings. Confirm them again.
Drag your STL into Prepare, or use the add-model control. Check its X, Y and Z dimensions in the scale controls. If 120 mm becomes 120 inches, fix the units; don’t eyeball it.
Use Lay on Face for a flat bottom. Make the footprint stable and supports reachable. A different orientation changes surface quality and how layers carry load.
Use your printer’s standard process for the installed nozzle. For the tray example, our starting trial is 0.20 mm layers with a 0.4 mm nozzle. Review wall paths, base layers and infill in Preview instead of assuming settings guarantee strength.
Click Slice plate. Scrub from the first layer to the top. Watch for missing walls, islands beginning in midair, supports trapped inside cavities and ugly contact on visible surfaces. Check the time and filament estimate.
Save a Studio project 3MF so the setup can be repeated. Confirm the selected device and filament mapping before Print plate, or use the export method documented for your printer. Watch the first layer, then let the plate cool before removal.
The current landscape includes A1 / A1 mini, the larger A2L, P2S, X2D, H2S / H2D / H2C and the newly announced H3C. Older P1 and X1 owners use the same core design-to-slice loop. Select your exact machine; don’t borrow another model’s bed limits or material assumptions.
Bambu Studio’s official releases list 2.9.1 as the public release checked for this guide. It adds H3C support and mixed-nozzle-diameter workflows initially for H3C. That’s useful context, not something you need for your first single-color tray.
Not automatically. An STL contains the surface shape, not the generator’s texture. Use one color for the first test. A 3MF may carry color information, but “3MF” alone doesn’t tell you whether the exporter and slicer agree on it.
Current Studio release notes describe textured-model imports and texture-to-color workflows. You still need to review material assignments, supported hardware, color mapping, purge waste and the sliced result. Printed detail must exist in geometry; a painted shadow won’t become a groove. Check the current feature details ↗
Find the symptom. Fix the cause.
Regenerating the whole thing is rarely the only move.
Translation: the triangle surface doesn’t consistently enclose a volume. Open edges, internal faces or self-intersections can confuse the slicer.
Do this: keep a copy. Run the generator’s geometry check, or Blender’s 3D Print Toolbox. Inspect the flagged region; close unintended openings and remove internal geometry. Apply a repair, then compare the shape and slice again.
Automatic repair may close an intentional opening. The inside of a cup is fine; its material still needs a continuous, closed skin.
Blender repair tools ↗Translation: detail may be thinner than the extrusion paths, or it may only exist in a texture.
Do this: inspect without textures, at final scale. For this guide’s first PLA designs with a 0.4 mm nozzle, start around 1.2–2 mm walls and check actual paths. Use thicker connections on protruding features. A printable single line is not automatically a durable wall.
Changing infill cannot create a missing outer wall. Thicken the geometry, enlarge the model or simplify the detail.
Meshy’s wall guidance ↗Translation: new plastic has too little beneath it. An island starts with nothing underneath; a bridge spans between supported ends.
Do this: rotate the object, shorten projections, add a chamfer, split the part or add supports. Treat about 45° from vertical as a conservative point to inspect, not a universal limit. Test your actual geometry and material.
Angle conventions differ between tools. Use the preview, and make sure supports can actually be removed.
Designing around overhangs ↗Translation: nominal CAD dimensions ignore the real print’s variation. Equal dimensions usually do not produce a sliding fit.
Do this: use an explicit gap. For a rectangular plug, subtract twice the per-side gap from the opening width and depth. Print fit coupons in the final material and orientation. Measure before changing the design.
Check first-layer flare, seams and warping first. Scaling the entire object also changes holes, walls and every other dimension.
Work through the lid example →Translation: STL doesn’t declare its units. Different exporters can interpret the same numbers differently.
Do this: compare one known dimension immediately after import. Enter the intended dimension with uniform scaling locked, or correct the units in the source and export again. Recheck wall thickness after any scale change.
A recognizable thumbnail tells you nothing about physical size. Save the intended dimensions with the file.
Tripo export and scale guidance ↗Translation: surviving the slicer isn’t the same as surviving use. Thin necks, layer direction, material and sharp corners affect strength.
Do this: widen the connection, round the inside corner and reconsider orientation. Test with the load the part will actually see. For a first project, stay with low-consequence desk objects.
A watertight-mesh check does not certify load capacity, heat resistance or food safety.
Print-aware design ↗Seven checks that are cheaper than an overnight failure.
This is a manual preflight, not a mesh analyzer. Check each item in your actual CAD model and sliced preview.
A little checking now.
A lot less guessing later.
Your checks stay in this browser when local storage is available.
Research checked November 17, 2026. Product claims come from the linked documentation. Recipes and suggested test values are this guide’s own starting points.
A note on honesty. This independent guide isn’t affiliated with Bambu Lab or the tool makers. Generated photographs are illustrative, not photos of successful test prints. The live workshop produces actual model files, but no physical print test was performed for this guide. Vendor “print-ready” claims still need your inspection.
No prices or subscription recommendations are included. Check current access, terms and export permissions before paying for a tool. Your measurements, your material and your first test print have the final say.